The list covers 4 looks, from warm, muted sepia to deep shadows, clean black and white, and soft film color, and the light in your venue decides which one you reach for.
Bright outdoor daylight suits the filmic look, open quiet scenes suit vintage, and a room with character worth keeping in shadow suits dark and moody.
1. Vintage Effect
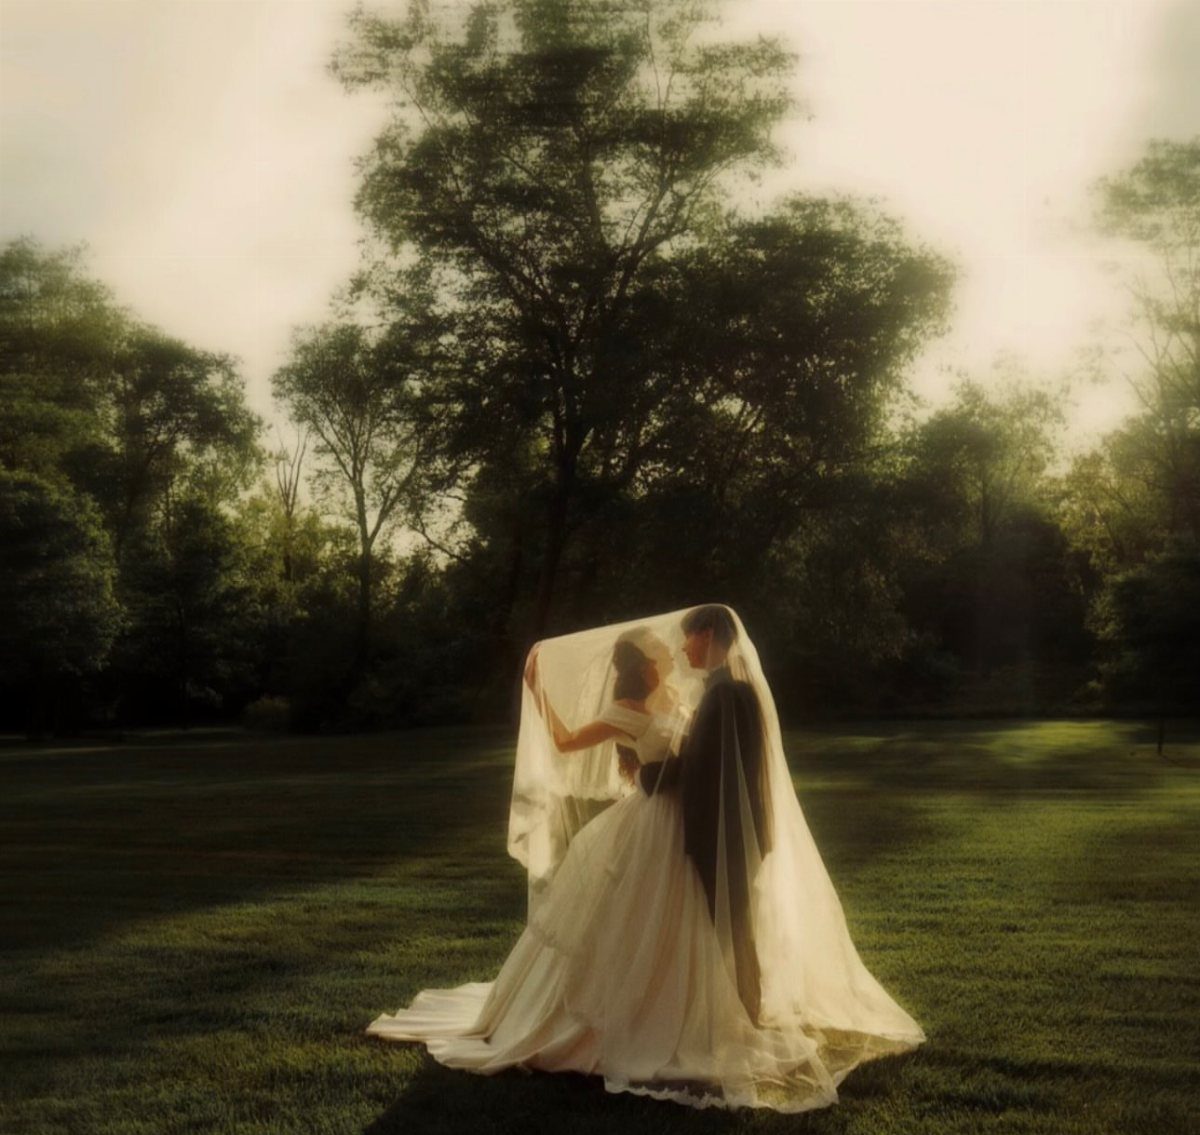
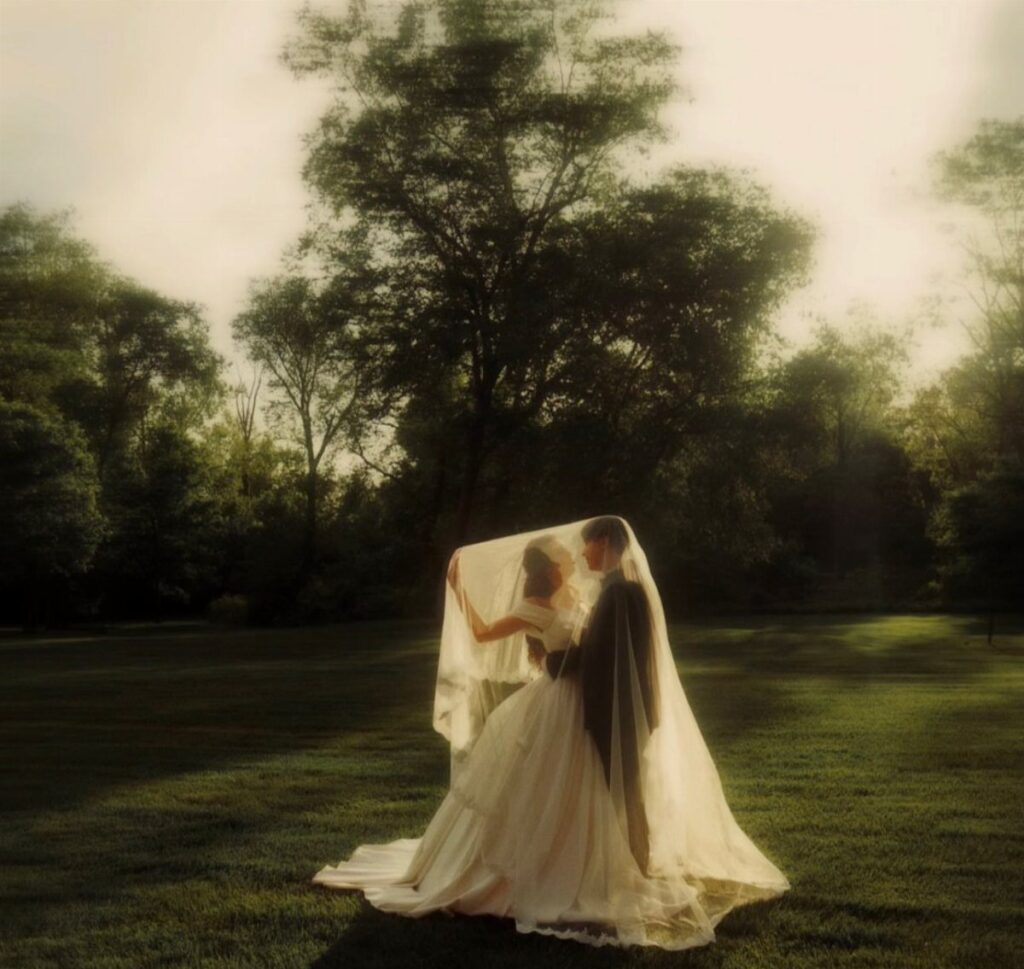
Sepia is the quickest way to give a wedding frame the warmth of a family heirloom, and a veil over a field with big trees behind it rewards the treatment.
A good vintage preset warms the tones, softens contrast a little and lets the greens go muted instead of bright.
Keep skin natural. If the warmth pushes faces orange, pull the temperature back before you touch anything else.
I would build this as a preset you apply to open, quiet scenes like this one and skip on crowded reception shots.
2. Dark & Moody Style
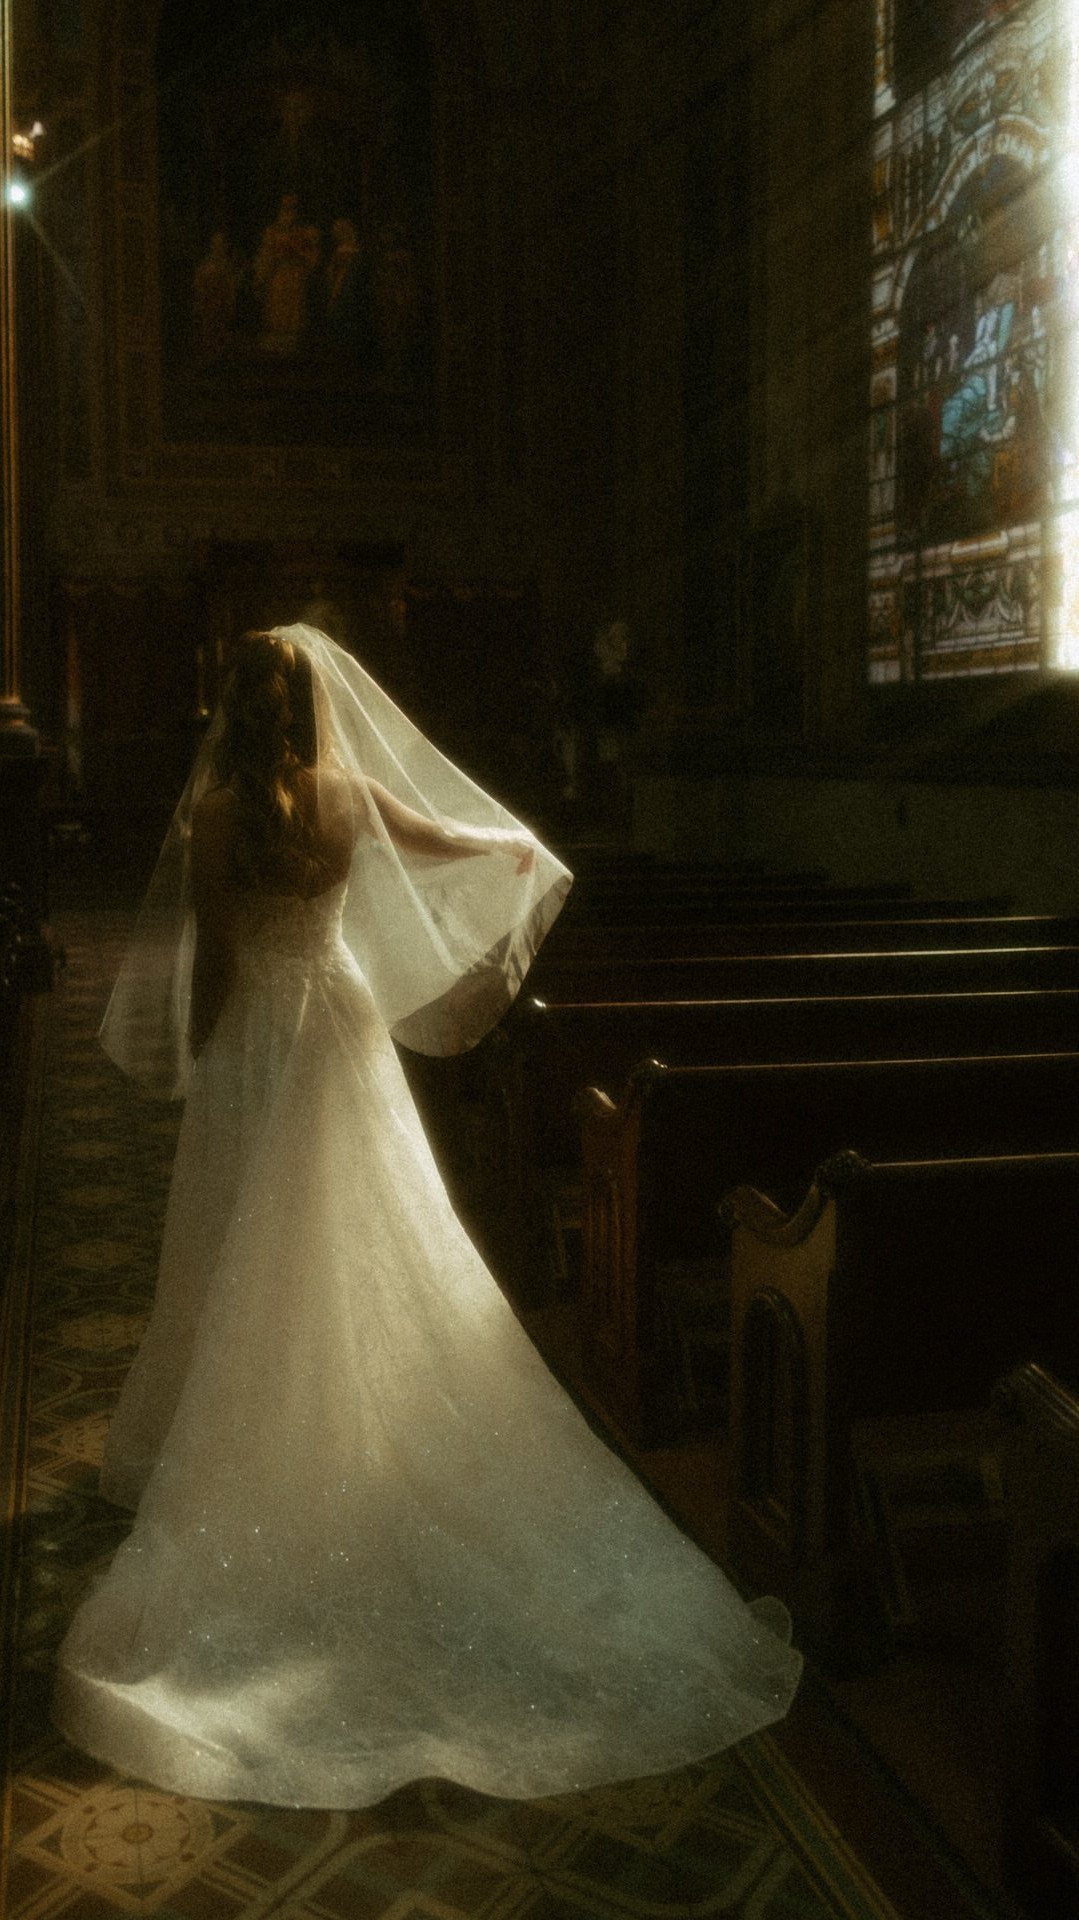
A dark and moody preset deepens the shadows, holds the highlights on the white dress and veil, and adds depth by letting the background fall away.
Expose for the dress, not the room. Blown whites on the gown are the one thing a moody edit cannot hide.
Pick this style when the venue has character worth keeping in shadow. It adds drama, but it costs you detail in the dark areas, so zoom in on the pews and other shadowed spots and check them first.
3. Classic Black and White
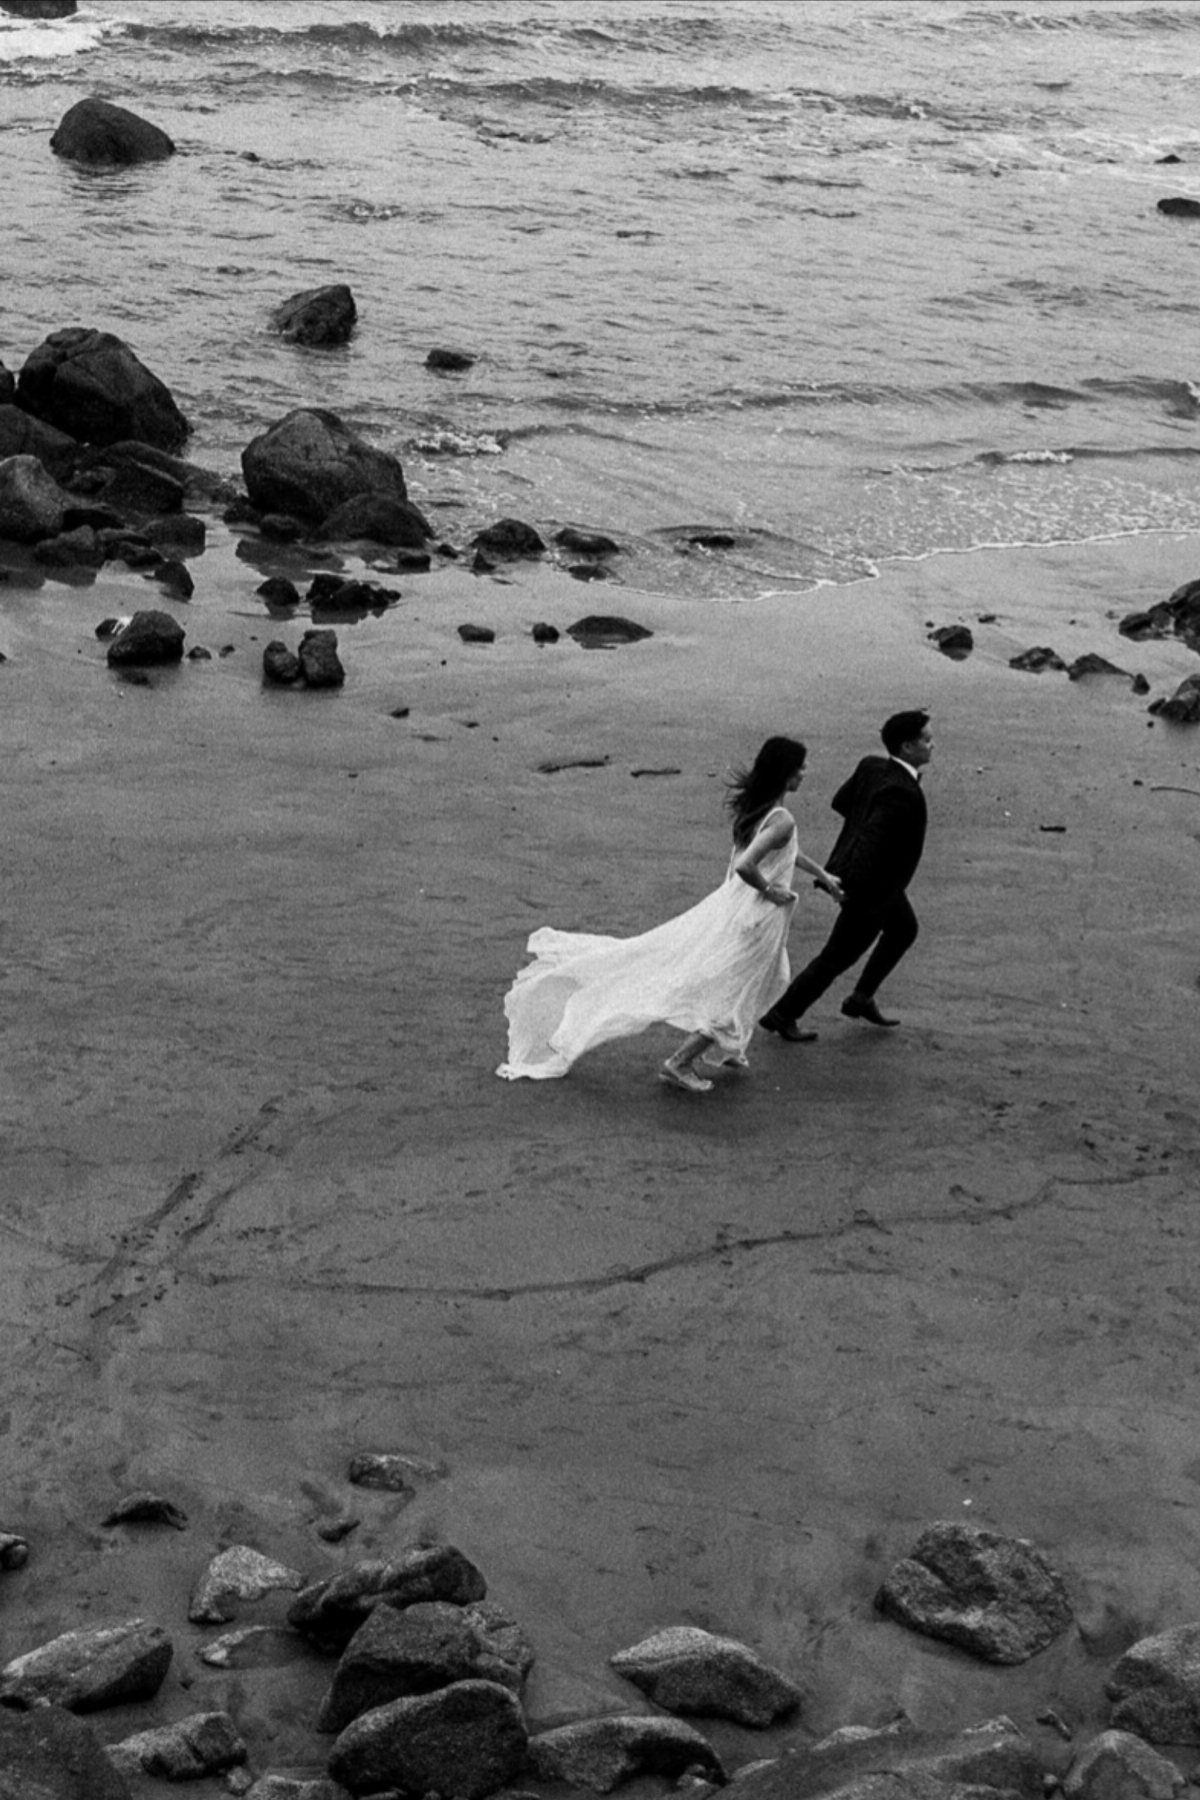
Black and white strips a frame down to light, shape and expression, which is why a couple walking a rocky beach with waves behind them works so well in it.
A classic preset should do more than desaturate: add contrast, shape the tones, and keep the sand and surf from going flat gray.
Look for real blacks and clean whites in the histogram. Test it on skin and on water, since both can turn muddy.
I would keep one black and white preset in every wedding catalog, ready for the moments that already feel emotional.
4. Filmic Look
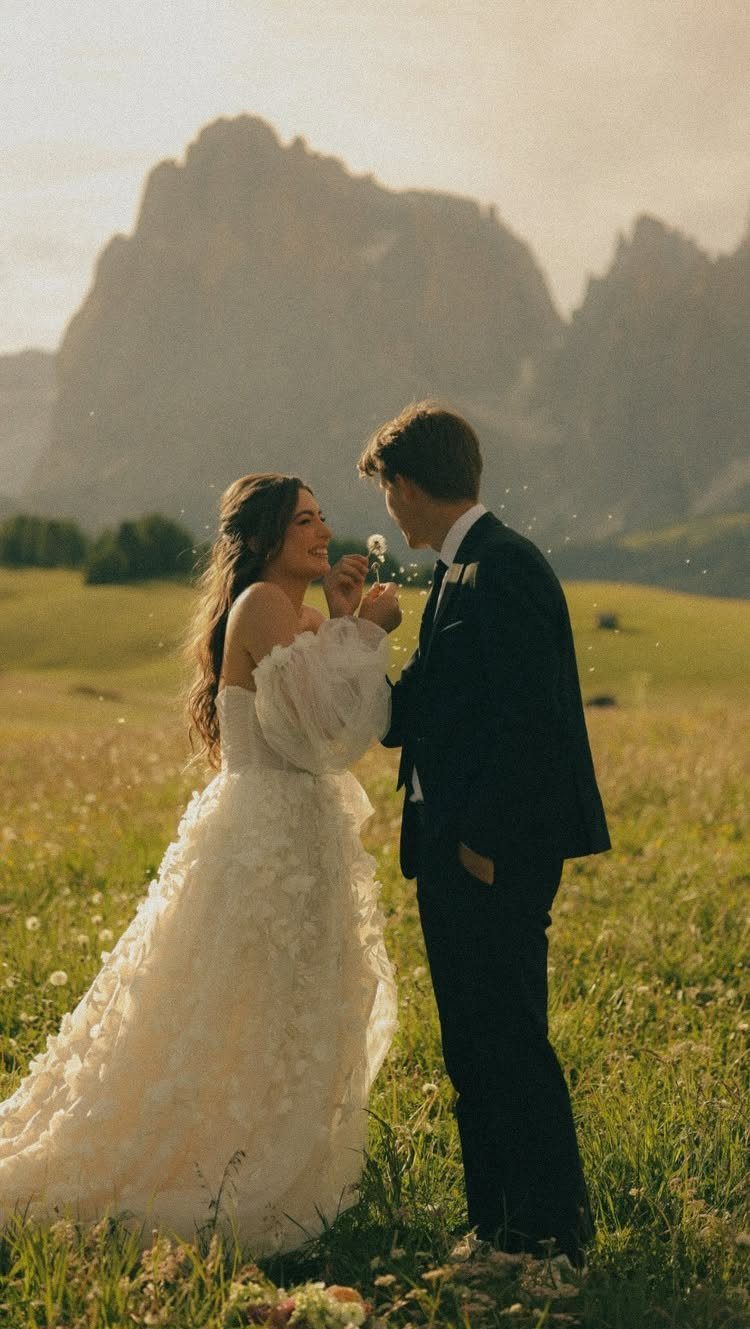
Filmic presets chase the charm of analog photography: warm tones, gentle contrast and color that looks lived in. A couple in a mountain meadow, holding a small white flower, is a natural fit for that soft, warm treatment.
Lift the blacks slightly for a faded base, and keep the highlights from clipping. Then check the greens, since meadow grass can drift too yellow under a warm edit.
This is the preset I would reach for on outdoor, daylight work. It rewards natural light, so it will do less for dark indoor rooms.
Benefits of Using Presets
A preset is a saved set of edits, so the real gain is speed.
Wedding galleries often run 800–1,000 photos, and editing each one by hand can take 20, 30, or even 40 hours. A well-chosen preset as a starting point can cut that time by 75% or more, which means galleries land in days instead of weeks.
Consistency is the second payoff. When every image in a portfolio shares one look, a couple browsing your site sees a style they can trust you to repeat on their day.
Treat a preset as a starting point, not a finished edit. It sets the mood fast, and you still finish each frame yourself.
How to Use Presets
Download presets only from sources you trust, then check the file type.
Most current presets ship as .XMP files, and both Lightroom and Adobe Camera Raw read that format. Older .lrtemplate files still float around, so expect those from older packs.
Start in the Develop module, where the Presets panel sits along the left side. Once imported, your new Lightroom presets then appear in the Presets panel.
Click a photo, click a preset, and Lightroom applies the saved settings in one step. Then adjust exposure, contrast, highlights, and shadows until the frame looks right, since no preset fits every photo exactly.
Choosing the Right Preset
Shoot in RAW. The files hold more detail and take heavier adjustments without falling apart, which is what a preset asks of them.
Light decides which preset works, so pick with the room in mind.
A preset tuned for sunny outdoor portraits can fall apart in a dim reception hall, and a getting-ready room with one small window, a midday ceremony, and a candlelit dinner each call for their own starting point.
Sort your presets by lighting so you pick by scene, not by habit.
Keep the effect light. Light edits hold up better than heavy ones, since an overdone look starts to feel fake quickly.
If you find yourself fixing white balance or rescuing highlights after every click, the preset is wrong for that frame, so switch instead of stacking corrections.
Frequently Asked Questions
Why use Lightroom presets for wedding photos?
Speed is the biggest reason. Culling a full wedding gallery of 800–1,000 frames and editing each by hand can swallow 20–40 hours, and starting from a solid preset can shave off three quarters of that or more.
A shared look across the gallery also shows couples a style you can repeat on their day, and each preset sets a mood fast.
Can I use Lightroom presets for mobile editing?
Mobile and desktop Lightroom both accept presets, so you can edit on a phone and finish on a laptop.
Can I use more than one preset on the same photo?
You can, but I would stick to one. When a preset leaves you correcting white balance or recovering blown highlights on photo after photo, I’d say it’s the wrong one for that scene.
Switch to a better starting point instead of stacking corrections, because heavy layered edits start to look fake.