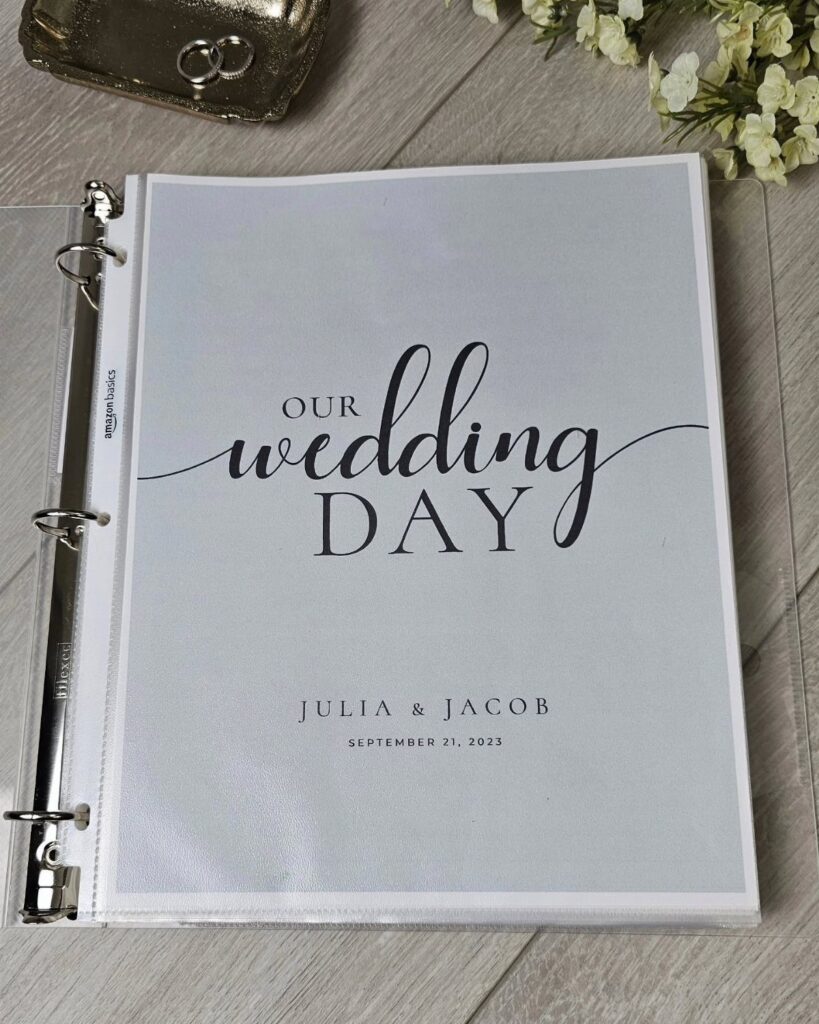
Wedding binder ideas run from a plain three-ring binder with a printable cover, which costs only paper and ink, to a lace-over-padded-heart cover that takes real sewing patience.
The format that fits you depends on where you do your best thinking: if you want something to point at across a vendor’s desk, go physical, and if you want to search a phone number in seconds and share the file with your partner, go digital.
Whichever you pick, settle it before printing or downloading anything, because switching halfway means re-entering everything.
1. Wedding Planning Binder
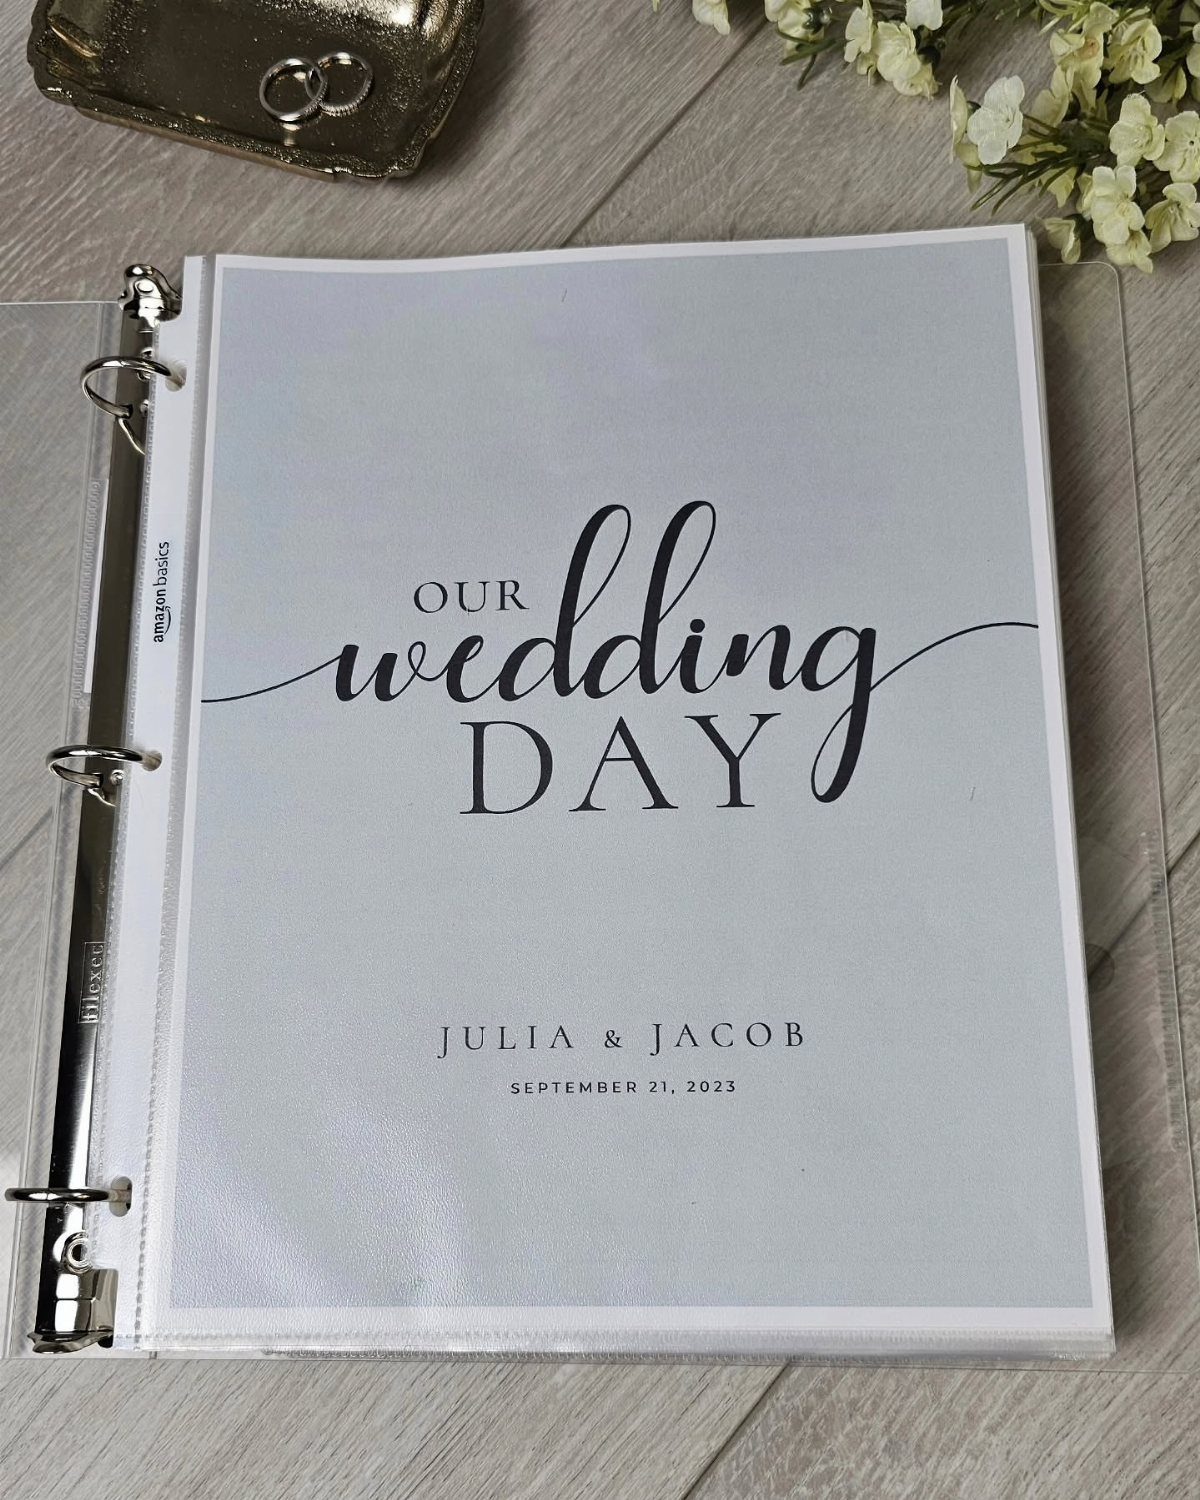
A single three-ring binder is the cheapest way to keep contracts, receipts and vendor notes in one place.
Rings beat a bound folder because you can add pages without rebuilding anything. I would carry it to every vendor meeting, so choose a size you can actually tote.
2. Inspiration Board
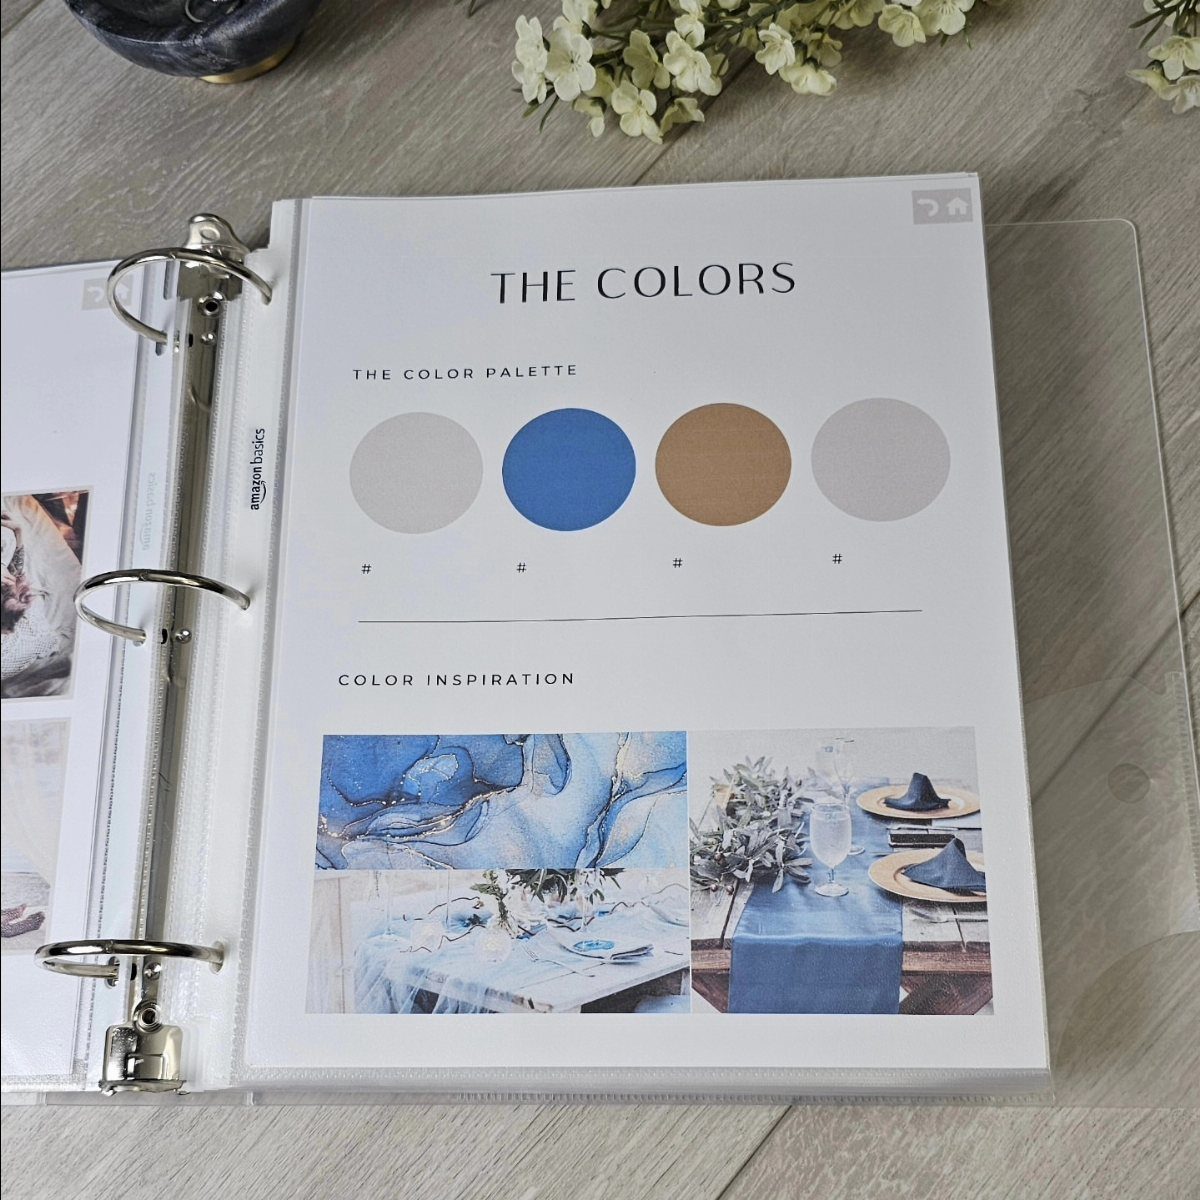
Color decisions go faster when the palette sits next to the pictures that inspired it.
Keep one page per theme so you can flip to it when a florist or rental company asks. Print the photos small enough that two fit beside the swatches.
3. Flowers
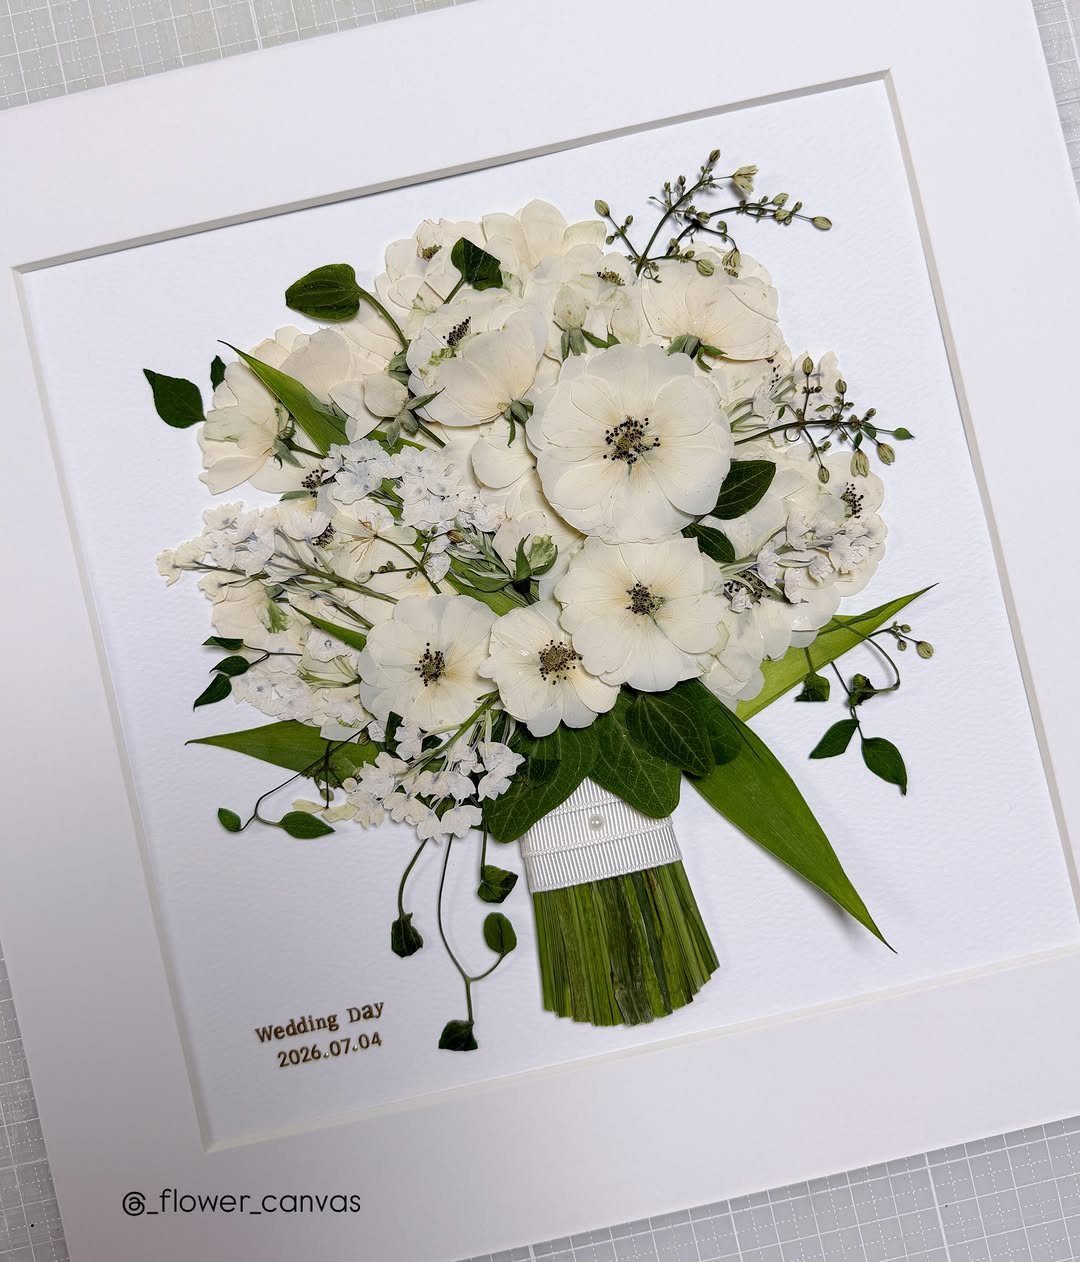
Pressed flowers turn a bouquet into something you can file.
Framed with a white ribbon and the date, as here, the piece works as a keepsake, and a pressed bloom or a swatch of the same ribbon can sit in the flower section of your binder.
Planning a version like this means telling your florist early that you want the bouquet preserved afterward. Pressing is slow and fussy, so I would hand it to a professional rather than risk losing the blooms.
4. Seating Chart
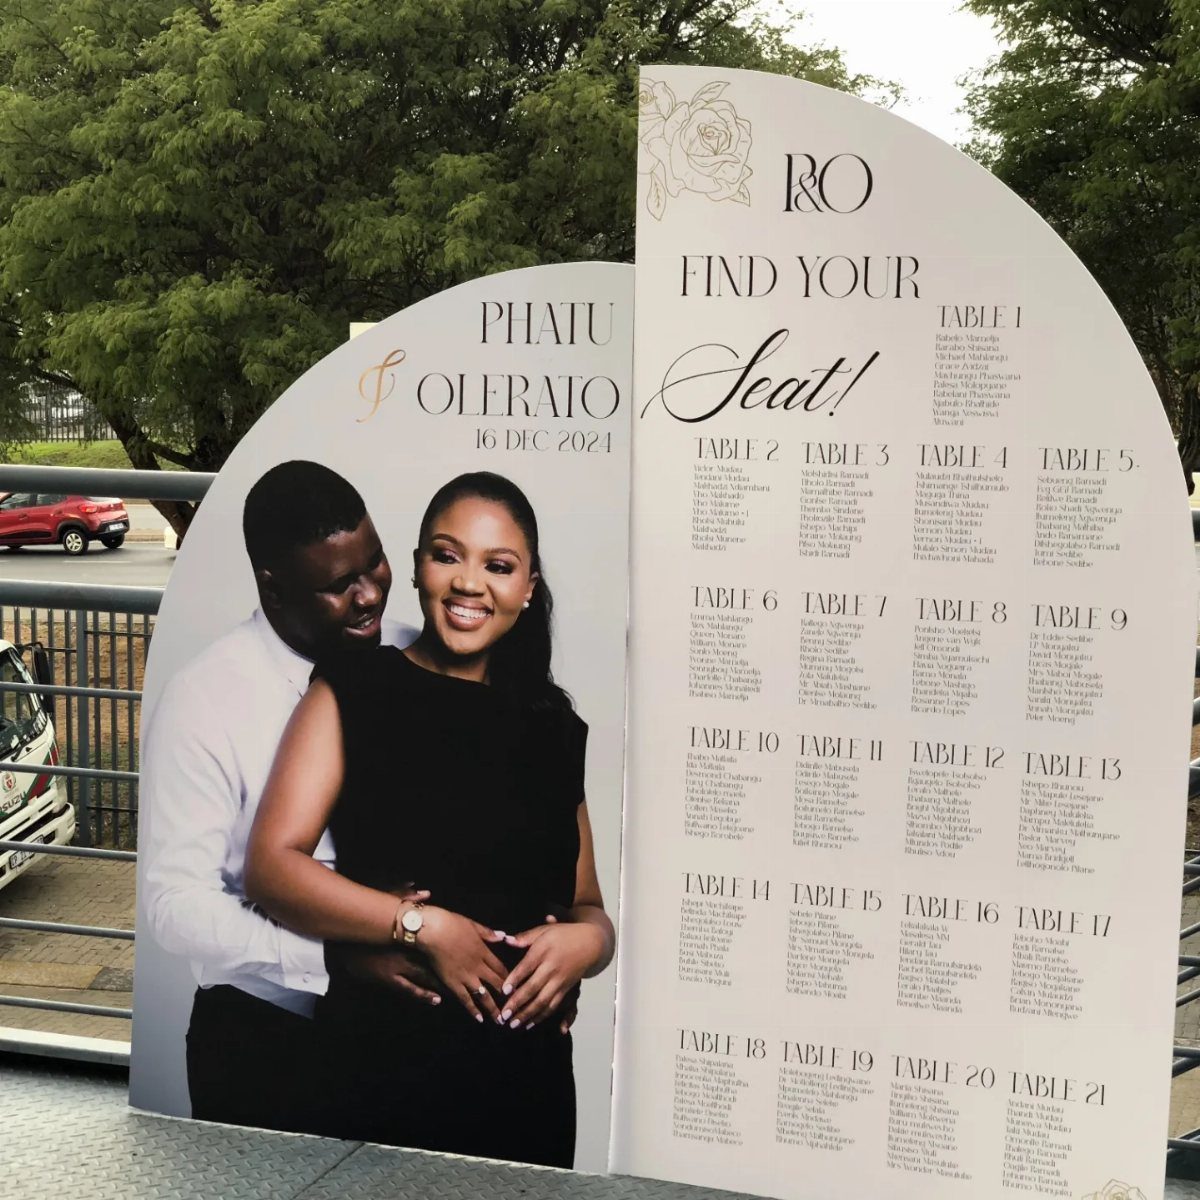
A seating chart this size is a project, and the binder is where it should start. Draft the table lists on paper first, since moving one name can ripple through every table.
Once the list is final, a printed arched board with a couple photo and the date makes a good entrance sign. Keep a copy of the final assignments in your binder for the caterer and the venue.
5. Personalized Cover Page Template
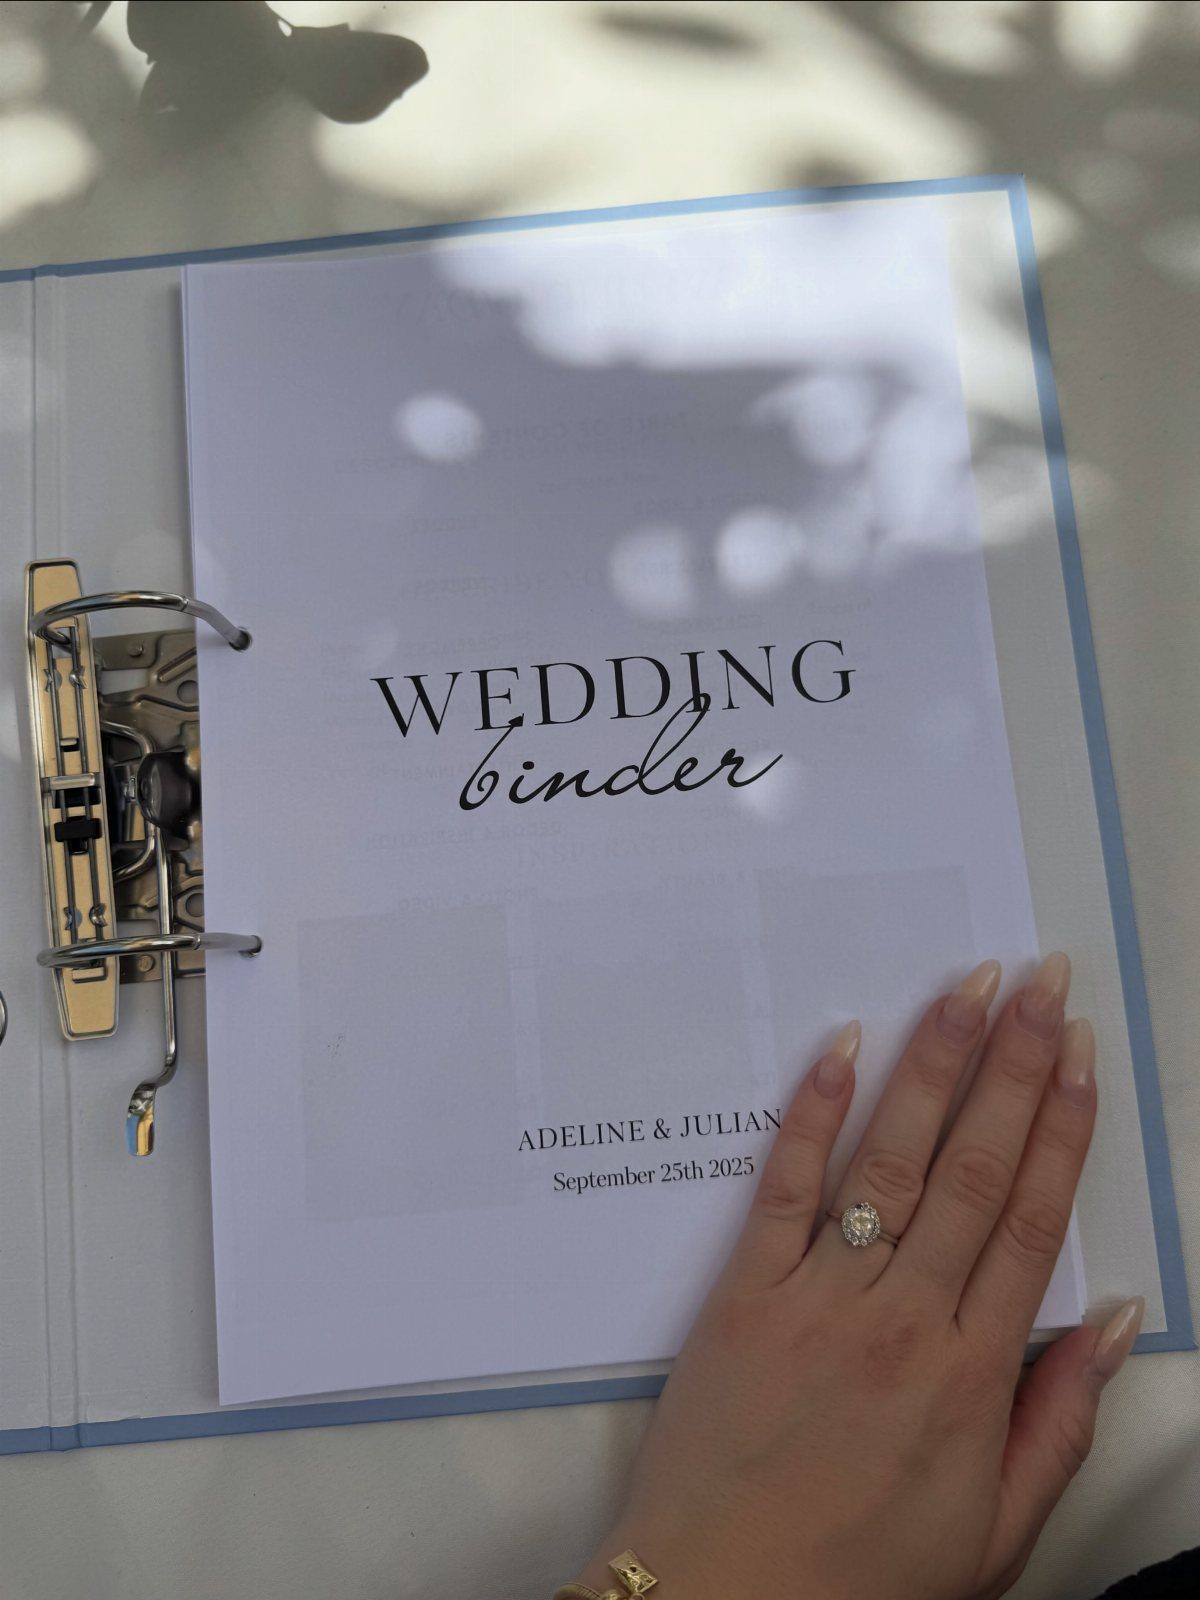
Names and a date on the front make a binder feel like yours, and a printable cover costs only paper and ink. Set the title in large type, with the couple’s names and the date beneath it.
Slide the page into the clear pocket of a plain binder. A light blue one looks softer than white, and swapping the cover later takes about a minute.
6. Digital Wedding Binder Template
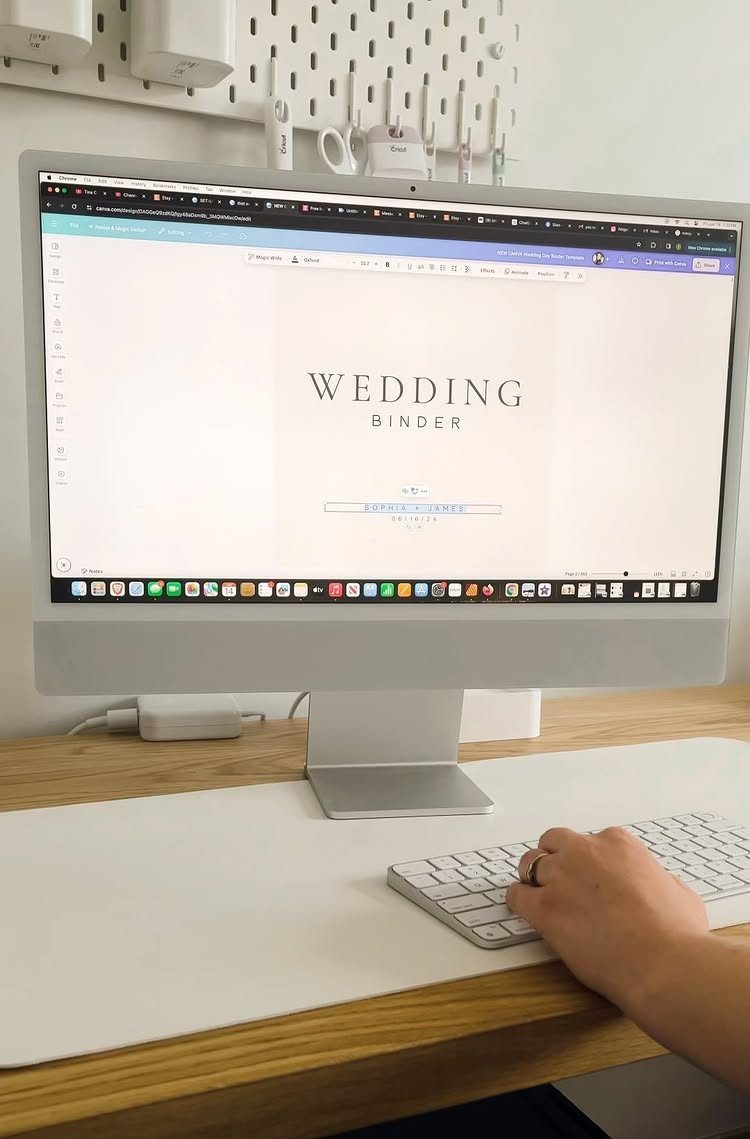
A digital template saves you the printing and lets you search for a vendor’s number in seconds. Fill in the names and date on the first page, then work through each section on screen.
I would still print the pages you need on the day itself, because a phone battery can die. Back up the file somewhere your partner can open too.
7. Fabric Lace Binder Cover
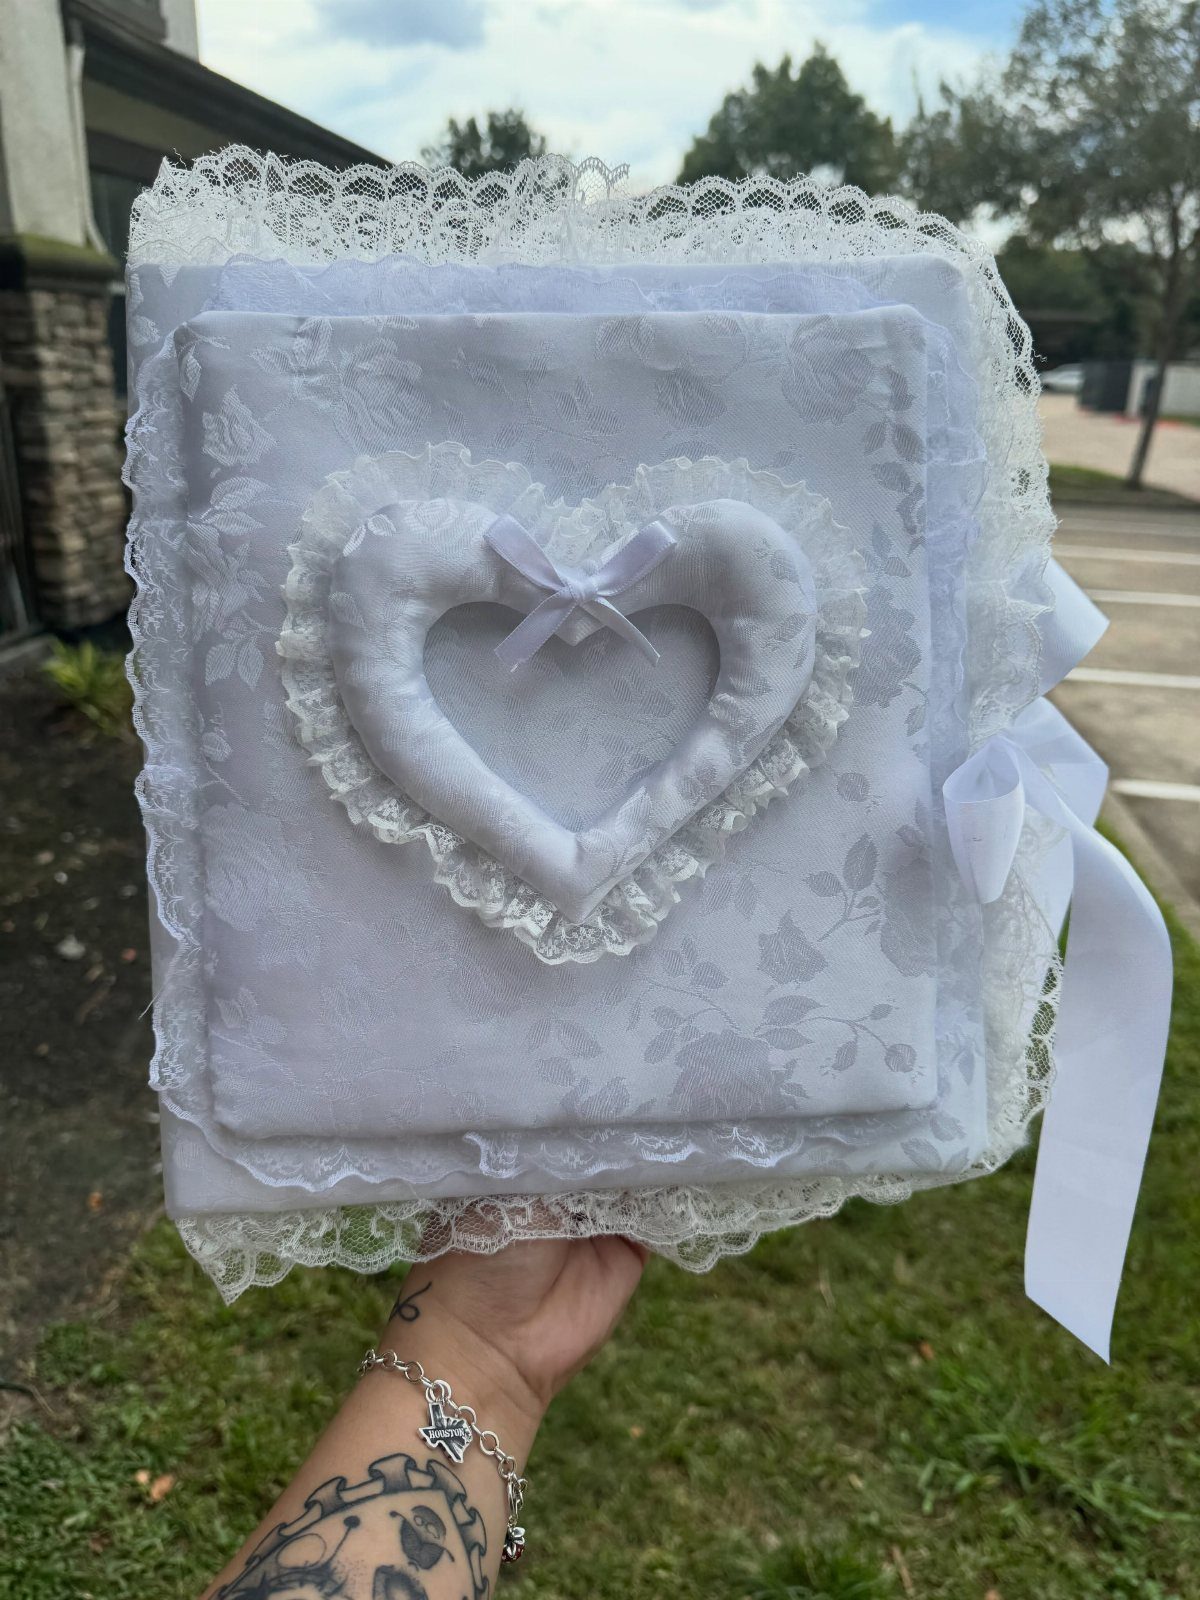
Lace over a padded heart gives a plain binder the look of a keepsake, and a satin ribbon tie keeps the cover closed without any hardware.
A handmade fabric cover costs less than most store-bought wedding albums, though the sewing takes real patience.
White fabric will show every smudge, so I would make it a slipcover you can wash or replace.
If you don’t sew, ask a crafty friend to make one, or pick a pre-made cover and add the lace and ribbon yourself.
8. Pre-Wedding Timeline Checklist
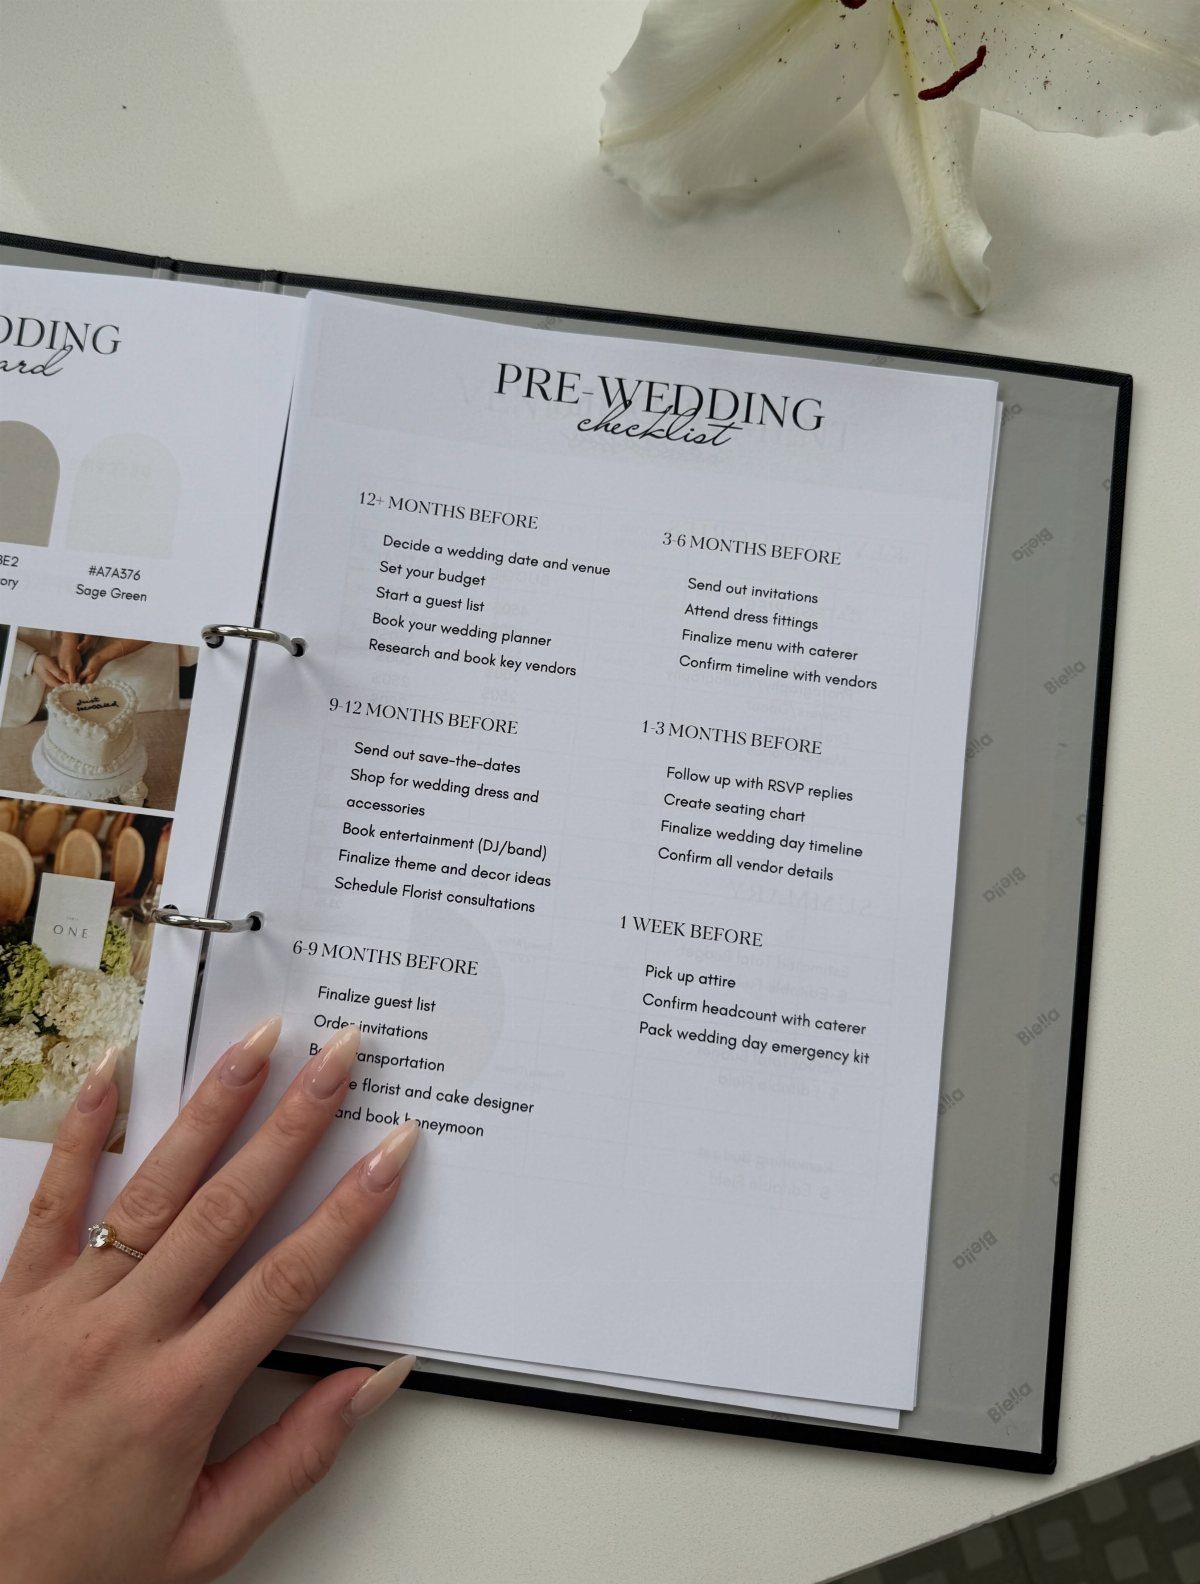
A checklist sorted by timeline milestones tells you what to do now instead of everything at once.
Put it on the left-hand page, with your mood board facing it on the right, so the first thing you see each time you open the binder is both the next task and the look you are building toward.
Group tasks by how far out they fall, and check them off in pen. I like keeping the color codes next to the photos, since a florist or baker can read them at a glance.
Creating a Wedding Binder
Start with a shopping trip to a craft or office supply store, where divider tabs and sticky notes cost little and come in more styles than you’d expect.
Along with the binder itself, gather dividers, sticky notes and your printables before you assemble anything.
Sort the dividers by the decisions you’ll be making with vendors: colors, decor and equipment each get their own tab. Sticky notes are for questions you want to ask at the next meeting, since they peel off once answered.
A binder works best as one central place for documents, progress and ideas. Whether your timeline is long or only a few months, that single home keeps you from hunting through email for a contract.
Digital Vs. Physical Binder
Pick the format before you print or download anything, because switching halfway means re-entering everything.
Choose a physical binder if you think best with a pen in hand and like having something tangible to point at across a vendor’s desk.
Choose a digital one if you’re comfortable with technology and want to open it anywhere and share it with your partner in a click.
If you can’t decide, ask yourself which one you’ll actually open on a tired Tuesday night. The best binder is the one that gets used, and a half-filled version of either does you no good.
Regular Updates
Pick a regular slot every week, even a short one, to go through the binder and mark what you’ve finished and what still needs work.
Pick the same day and hour so it becomes a habit rather than a chore you remember at midnight.
Use that session to file new receipts, cross off finished tasks and replace outdated notes with current ones. Check that every phone number, price and date matches what the vendor last told you.
Staying on track this way is how you avoid last-minute surprises. A short weekly check costs far less than finding out about a missed deadline right before the wedding.
Frequently Asked Questions
Should I use a digital or physical wedding binder?
Pick whichever format you will really open when you’re worn out and it’s a weeknight. If you’re at ease with apps and want your files on your phone anywhere, with your partner able to see them instantly, digital wins.
How often should I update my wedding binder?
I’d set a fixed weekly slot, the same day and time each week, so the check-in turns into routine. In that slot, put receipts in their pockets, tick off what’s done, and swap out any notes that have gone stale.